Installing GregTech: New Horizons 2.5.1
Prerequisites
- Java 21 or GraalVM 21 installed
- Prism Launcher installed and setup
Instructions
Step 1
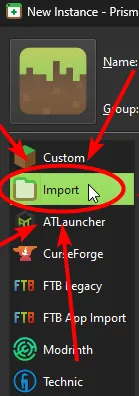
Launch Prism Launcher, and click on “Add Instance”.

Step 2
Click on “Import” in the sidebar of the newly opened window.
Step 3
Right-click the client pack that you want and copy it to your clipboard:
- Angelica version - Can have rendering bugs, has far better performance.
- Standard version - More stable, less performant.
Paste it into prism launcher like shown. (The version of the modpack in the image may be different from what you have)
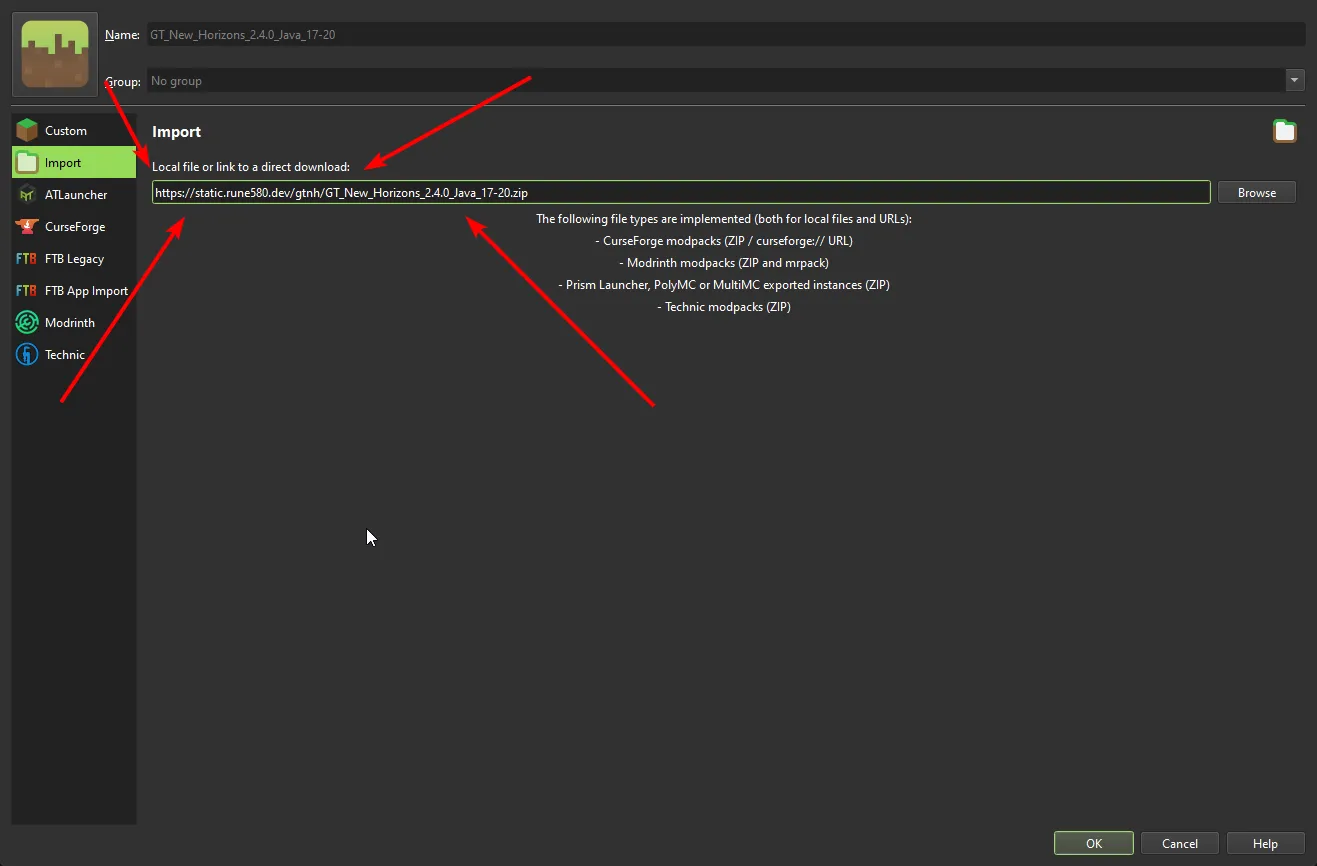
And then press “OK”.

Wait for Prism Launcher to install the modpack.
Step 4
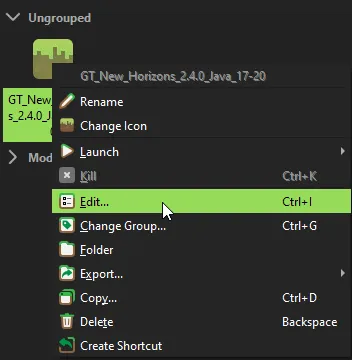
Right-click the modpack and click “Edit…“.
Step 5
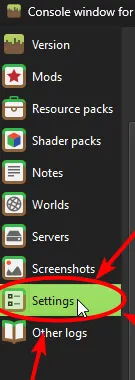
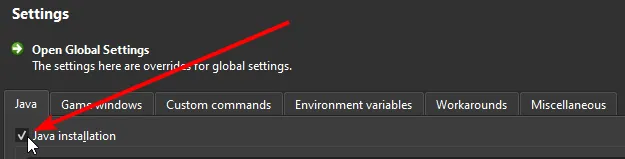
Click on “Settings” in the sidebar of the newly opened window.
Step 6
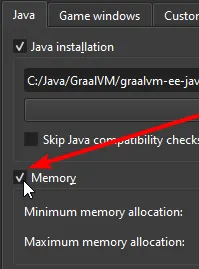
Click on the checkbox labelled “Java installation”. It should now have a checkmark.
Next choose the JDK that matches your setup.
GraalVM JDK 21
Remember the folder location I told you to remember? You’ll need that for this.
Step 6a-1
Fill the field shown with *FOLDER_LOCATION*/bin/javaw.exe make sure you replace *FOLDER_LOCATION* with the actual folder location.
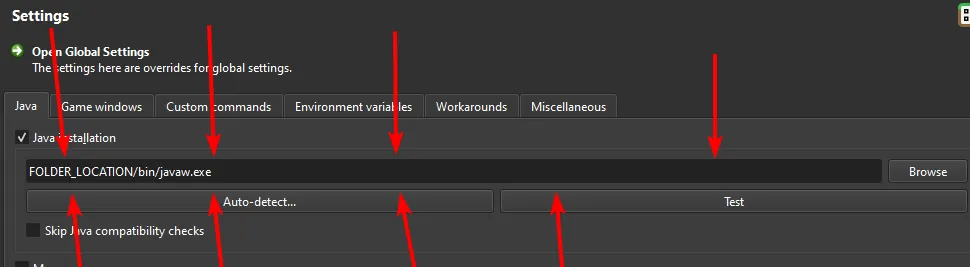
Here is what a valid location should look like (The path may look a little different from yours, that’s fine, as long as the path points to a file called javaw.exe, and that file actually exists.)

Step 6a-2
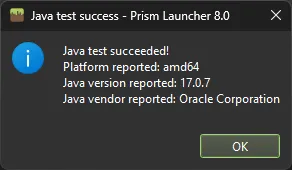
Verify that the location is correct by clicking on the “Test” button.

If this window displays “Java test succeeded!” and “Java version reported: 21” then you’re all set.
Other JDK 21
This is for JDK’s that used an installer. If you don’t have Java 21 installed, and you don’t want to deal with setting up Graal for it’s performance improvements. You can download an installer for Java 21 from Adoptium .
Step 6b-1
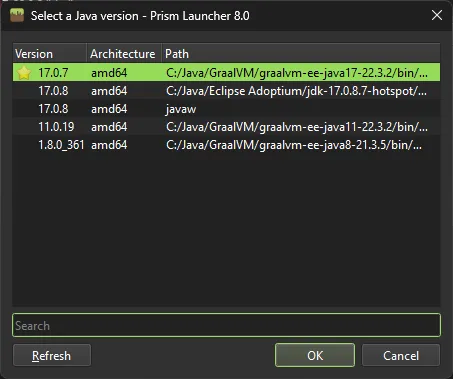
Click on the “Auto-detect…” button.

Step 6b-2
Select an entry from the list with a version of “21.x.x”. then press “OK”.
Step 6b-3
Verify that the install is correct by clicking on the “Test” button.
If this window displays “Java test succeeded!” and “Java version reported: 21” then you’re all set.
Step 7
Click on the checkbox labelled “Memory”. It should now have a checkmark.
Step 8
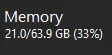
According to the GTNH Wiki the recommended amount of RAM is about 8GB. Normally with Java 8 and modded Minecraft 1.7.10, going over 8GB could cause performance issues. However, we are using the Java 21 version of GTNH, so you can go over 8GB if you’d like. DO NOT allocate more RAM than what your system normally has unused. The image below shows a system that has 64GB total RAM with 21GB’s in use, that system could safely allocate 20GB’s without issues.
However a system that only has 32GB’s of total RAM, would only be able to safely allocate 9GB’s. Follow this equation for a general guideline for allocating RAM based on total system RAM:
TOTAL_RAM / 4 = Recommended RAM.
As long as you have at least 7GB allocated, you should be good to go.
Set the “Maximum memory allocation” field to the maximum amount of RAM you are comfortable allocating. Keep in mind that this field uses MB’s not GB’s so multiply the GB’s you want by 1024.
For example if you wanted 8GB allocated, that would be
8 * 1024 = 8192.
